
Honeycomb
Honeycomb is great to make with kids but it is potentially a recipe for disaster and besides, they do tend to have a habit of eating it.
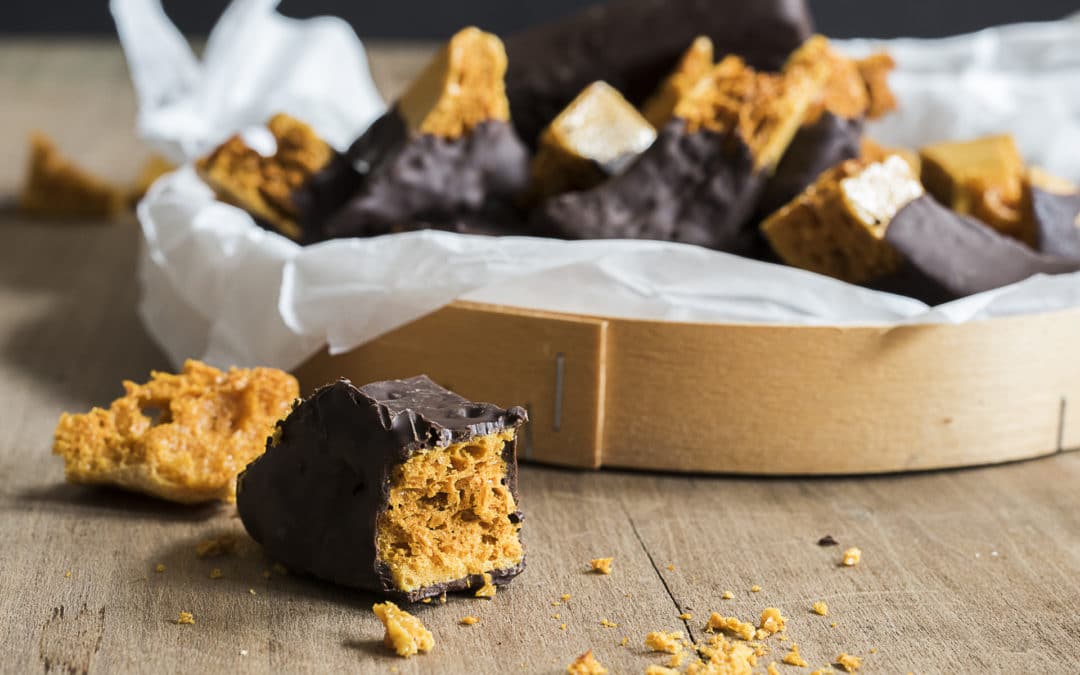
I’ve been making it recently to tart up dairy free desserts, where usually I might use cream or chocolate. It is incredibly sweet, which is sort of the point and although it is rather excellent just as it is, a good dousing in dark, bitter chocolate makes it even better, and also much less appealing to small children.
Having said that, if you were looking to entertain anyone in your kitchen over the Easter holidays who may have a sweet tooth and a short attention span, then you can knock up a batch of honeycomb in less than 10 minutes with just three ingredients, and I defy any child under the age of 74 not to be utterly wowed by the chemical drama occurring in the pan.
If you want a chocolate covered version you need to accept you won’t be able to recreate the exacting specifications of a Crunchie, and instead settle for a more random freeform approach. You may have some success approaching it like tile cutting; scoring and snapping, but failing that they will still make an impressive looking gift.
Ingredients
200g caster sugar
100g Golden syrup
2 x level teaspoons bicarbonate of soda
Have everything to hand before you start: a whisk, the bicarb’ measured out, a heat-proof spatula and a baking sheet or cake tin to pour it into.
Add the sugar and the syrup in a medium sized pan and set it on a low heat. Give the pan a shake every now and then as the syrup gets hot to disperse the sugar, and then turn the heat up a notch once the sugar has liquefied.
If you have a sugar thermometer, we’re aiming to add the bicarb’ once the caramel reaches 140 ⁰C, otherwise look to achieve a caramel the same colour as the centre of a Crunchie bar (not too dark, not even as dark as the top of a crème brûlée, for example. The bicarb already has an edge of bitterness to it which is why we’re being cautious). *
Once the caramel is at exactly the right stage, take the pan from the heat and add the bicarb’ and whisk swiftly yet thoroughly for 5 seconds or so. The honeycomb will start to billow and rise. Once it reaches the top of the pan pour it onto a baking sheet and leave it to cool, although it may well continue to increase in volume once you first pour it out of the pan.
And that’s it! Store it in an airtight container – it’ll keep its crunch for a good week.
For the chocolate version, simply melt 200g of dark chocolate in a glass bowl sat over a pan of barely simmering water, then either use a couple of forks to dip and turn each piece in, then remove to a wire rack and let the excess chocolate drip off, or just dip in each piece to come half way up the sides with chocolate.
*Honeycomb made with less ‘well done’ caramel will be slightly chewier than one made with a caramel that reached 140⁰C or more, which (un)coincidentally is approaching what’s known as the ‘hard crack’ stage.